BlogProfessional Painters in EdmontonResidential Painting in Edmonton
Painting a room or a few rooms in your home is a great way to refresh your space. Colours can have a major impact on emotions and brightening up a room can be exactly the change you’re looking for!
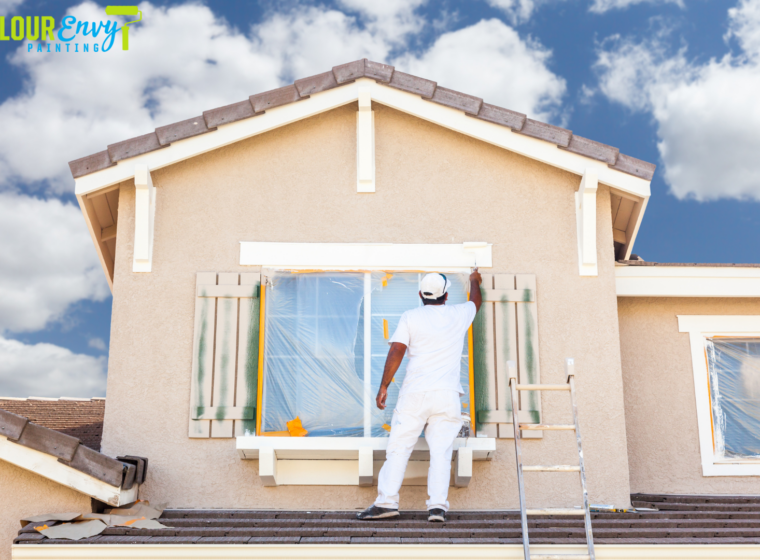
Summer is an excellent time to take on your residential painting projects. But, before you get started on painting, you need to make sure that you have the proper tools and materials, and that you know how to prepare your space properly.
Without the proper paint preparation, there can be many issues with the final product. Preparation helps to avoid streaks, adhesion issues, bumps, and other problems with the paint job. Preparing properly will mean that your painting project will result in a beautiful, professional-looking room, rather than a clearly amateur job.
First, let’s make sure that you have all of the supplies that you need for your residential painting project.
What You Need:
- Sandpaper (220 grit)
- Spackle
- Putty knife
- Masking tape
- Drop cloths
- Plastic sheeting
- Screwdriver, hammer, and/or pliers
- Ladder
- Dusk mask
- Safety glasses
How to Prep Your Walls For Painting:
1. Clear out the room
A beautiful coat of robin’s egg blue or butter-yellow-beige on your walls can be absolutely stunning. But… if the robin’s egg blue or butter-yellow-beige ends up all over your furniture or belongings, it’s not so stunning any more.
That’s why the first step in preparing your room for residential painting is to remove everything you can from it. If it isn’t possible to remove absolutely everything, don’t stress! There’s a method for that case, too.
If there are things that you aren’t able to remove from the room, simply move them to a neat pile in the middle of the room and cover it with a plastic sheeting. This will keep your furniture and belongings safe from paint stains.

2. Cover floor with drop cloths
Next, it’s time to cover and protect your floor. No matter if you’ve got nice hardwood floors or fluffy carpets, paint will not make them better, trust us.
Canvas drop cloths can easily be found at any local hardware store and are easy to lay out to protect your floor while you paint. Make sure that you are getting the fabric drop cloths for your floor because the plastic ones can be far too slippery and can cause safety issues.
3. Remove everything from the walls
Next up, clear your walls of any decorations and hardware. This one’s pretty obvious and also pretty self explanatory – you can’t paint a wall that’s covered in art and decorations!
Make sure that you also remove any screws, nails, or command strips from your walls so that you’ll be ready to patch the walls (more on this later).
4. Prepare electrical plugins
Use a flathead screwdriver to remove all electrical covers from the plugins. Then, cover the electrical outlets with tape to keep them safe during the paint project.
By doing this, you’ll be able to paint right up to the hole in the wall, creating seamless edges once you replace the covers.

5. Sand walls
There are a few main reasons why this is an essential step in preparing for residential painting. First of all, sanding gives you the chance to rid your wall of imperfections from previous paint jobs. You can sand everything flat with 220 grit sandpaper in no time.
Secondly, sanding also helps with adhesion. Paint won’t adhere as well to shiny surfaces and will end up looking very low quality if there is no sanding done. Sanding these shiny surfaces prior to painting them, however, will result in proper adhesion.
This is also a great chance to flatten out any holes or patches that had screws or other hardware in them. You can sand these imperfections down to prep them for a fresh coat of paint.
If you want your residential painting project to result in a great final product that looks professional, don’t skip this step!
6. Patch your walls
Now it’s time to create the perfect flat surface for your new paint to go on. Using the spackle and putty knife that you have, fill in any cracks or holes in your walls. Spackle can be a bit difficult to apply correctly, however, with some focus and some research, you’ll have it done in no time.
As a quick overview, make sure to take more spackle than you think you’ll need on your putty knife and wipe from above the hole/crack to below it. Then, scrape off the excess with the flat end of your putty knife. Continue this process until the hole is filled and the surface around it is flat.
Make sure that you let the spackle dry for a full 24 hours. Once it’s completely dry, use the same 220 grit sandpaper to flatten out the surface once again, returning the wall to its original state.

7. Clean your walls
Although you shouldn’t skip any of these 9 steps, this one is incredibly important. Believe it or not, even though walls are vertical, they can actually collect a lot of dust, dirt, and grime over time.
Dirty walls won’t let the paint properly adhere to them and will result in low quality results. A quick wipe down with water and dish soap will remove all of the dirtiness from your walls and will help the paint to go on smoothly.
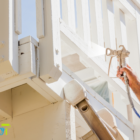
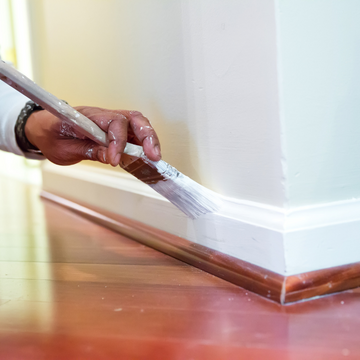
8. Tape around the trim
In order to get the most precise edges possible on your paint job, it’s imperative to tape around your trim, doors, light fixtures, and windows. This will take your painting from intermediate to professional and will leave you with a great final product.
Use painters tape that will easily come off of your trim once your paint has dried. Make sure that while applying this tape, you are as meticulous as possible with putting it directly on the edges.
No messy edges!
9. Prime your walls
Priming your walls before going forward with your residential painting project will help your paint job to last and retain its quality for years to come.
Priming also essentially creates a barrier between the previous paint job and the new one. It helps with adhesion, hiding darker colours under lighter ones, creating a uniform coat (even with imperfections underneath), and effectively covering stains.

Now, you’re ready to move forward with your residential painting project! Your walls are perfectly ready.
If you’d rather not go through the hassle of getting all of these supplies and following these nine steps to get your walls ready, feel free to call our team of professional painters to do it all for you. The best part? We can then paint for you, too! Contact us today at 780-651-1525.